DIY Tutorials & Creative Guides
Transform everyday materials into beautiful, sustainable creations with our step-by-step tutorials.
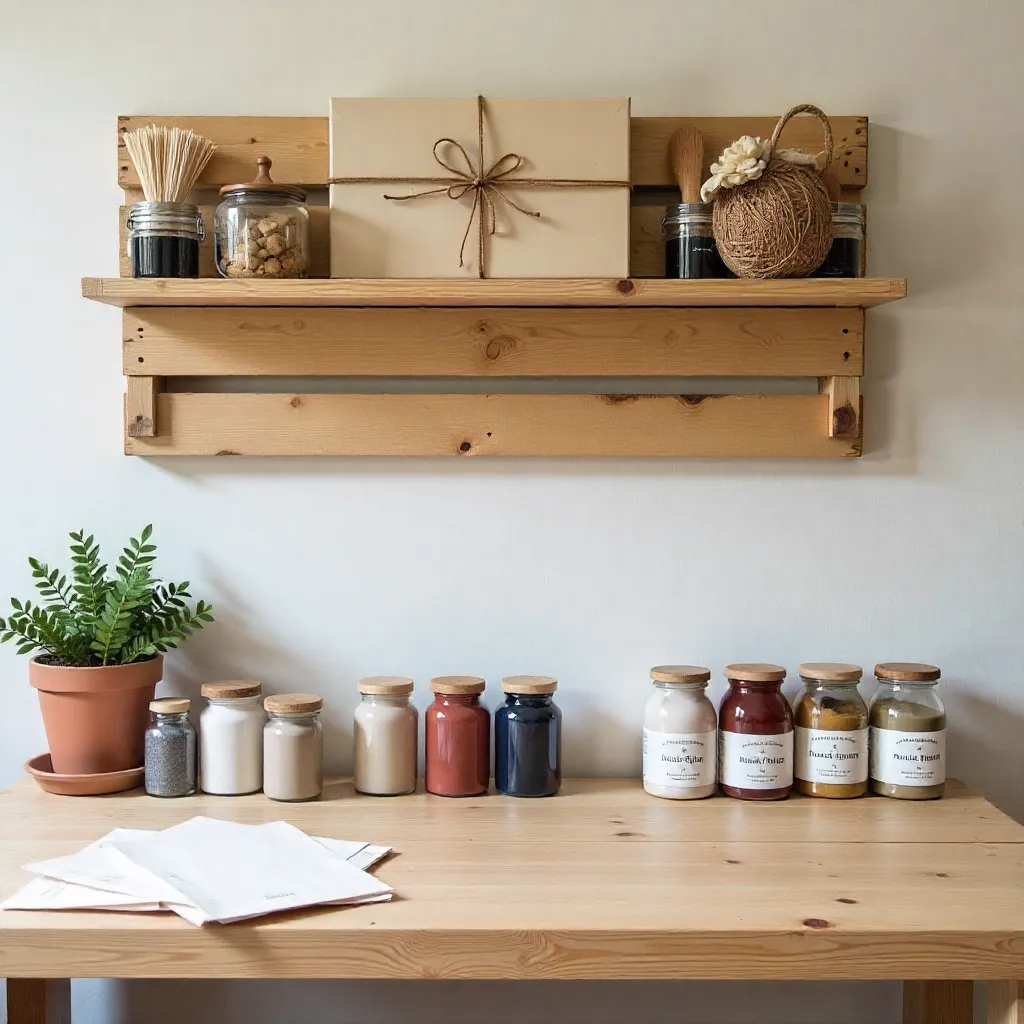
Zero-Waste Wall Organizer
Create a beautiful wall organizer using reclaimed wood and upcycled fabric. This project helps reduce waste while adding functional storage to your space.
Tools Needed:
- Reclaimed wood board (12" x 24")
- Upcycled fabric scraps
- Wood screws and wall anchors
- Drill with bits
- Scissors and measuring tape
- Sandpaper (medium grit)
Step-by-Step Instructions:
- Sand the reclaimed wood board until smooth, removing any splinters or rough edges.
- Measure and mark where you want your fabric pockets to be positioned on the board.
- Cut fabric pieces to size, adding 1 inch extra on all sides for hemming.
- Fold and press the fabric edges, then sew or glue them to create clean hems.
- Attach the fabric pockets to the wood board using small screws or strong fabric glue.
- Mark the wall where you want to hang the organizer, ensuring it's level.
- Install wall anchors and screw the organizer securely to the wall.
- Fill your new organizer with small items, mail, or craft supplies.
Sustainability Benefits: This project diverts wood and fabric from landfills, reduces the need for new materials, and creates a long-lasting functional item.
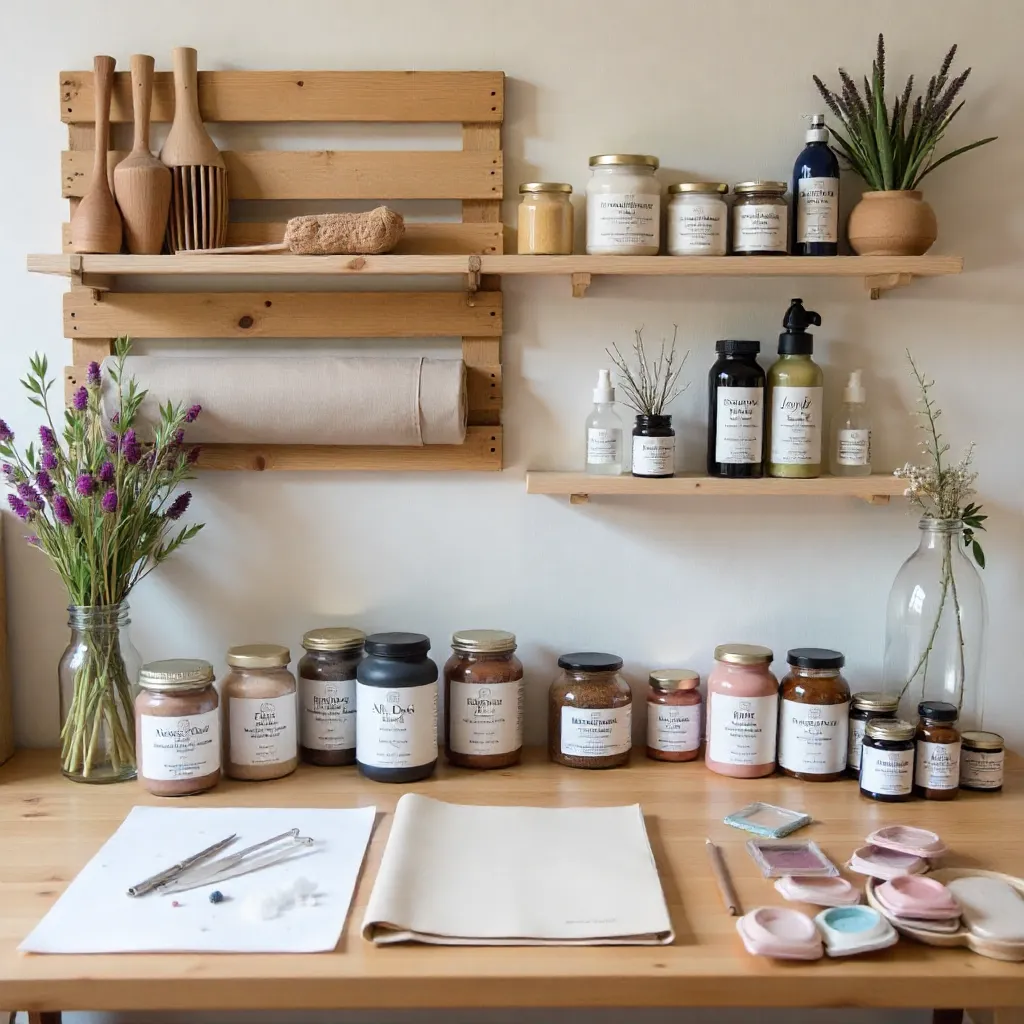
Natural Fabric Dyeing with Plants
Learn to create beautiful, vibrant colors using natural plant-based dyes. This technique produces unique, eco-friendly colors that are safe for you and the environment.
Tools Needed:
- Natural fiber fabric (cotton, linen, or silk)
- Plant materials (onion skins, turmeric, red cabbage, or beetroot)
- Large stainless steel pot
- Alum (mordant) for colorfastness
- Strainer or cheesecloth
- Rubber gloves
- Measuring spoons and cups
Step-by-Step Instructions:
- Prepare your fabric by washing it thoroughly to remove any sizing or finishes.
- Create a mordant bath by dissolving 2 tablespoons of alum in 4 cups of warm water.
- Soak the fabric in the mordant solution for 30 minutes, then rinse and set aside.
- Prepare your dye material: chop vegetables or collect plant materials (onion skins work great for yellows and oranges).
- Add plant materials to a large pot with enough water to cover your fabric, then bring to a gentle boil.
- Simmer for 30-60 minutes until the water is deeply colored, then strain out plant materials.
- Add the mordanted fabric to the dye bath and simmer for another 30-60 minutes, stirring occasionally.
- Remove the fabric and rinse in cool water until the water runs clear.
- Hang the fabric to dry in a shaded area away from direct sunlight.
- Once dry, heat-set the color by ironing on medium heat or washing in warm water.
Sustainability Benefits: Natural dyes eliminate harmful chemical runoff, use renewable plant resources, and create colors that are safe for skin contact and the environment.
Upcycled Tote Bag from Old Clothes
Transform old clothing or fabric scraps into a stylish, functional tote bag. This project gives new life to materials that might otherwise be discarded.
Tools Needed:
- Old clothing or fabric (denim, canvas, or sturdy cotton works best)
- Sewing machine or needle and thread
- Scissors and fabric marker
- Measuring tape or ruler
- Pins or fabric clips
- Optional: decorative buttons or patches
Step-by-Step Instructions:
- Choose your fabric and cut two rectangles measuring 16" x 18" for the main bag body.
- Cut two strips measuring 2" x 24" for the handles (or use existing straps from old bags).
- If using old clothing, carefully remove seams to get flat fabric pieces.
- Place the two main pieces right sides together and pin along three sides (leave the top open).
- Sew along the three pinned sides with a ½" seam allowance, reinforcing the bottom corners.
- Box the bottom corners by folding the bottom corner to create a triangle, then sewing across 2" from the point.
- Turn the bag right side out and press the seams flat.
- Fold the top edge 1" inward and press, then fold again 1" to create a clean hem.
- Sew the hem in place, leaving openings for the handles.
- Attach handles by folding each handle strip in half lengthwise, sewing along the long edge, then attaching to the bag at the top hem.
- Reinforce handle attachments with extra stitching for durability.
- Add decorative elements like patches or embroidery if desired.
Sustainability Benefits: This project extends the life of existing materials, reduces textile waste, and creates a reusable alternative to single-use bags.
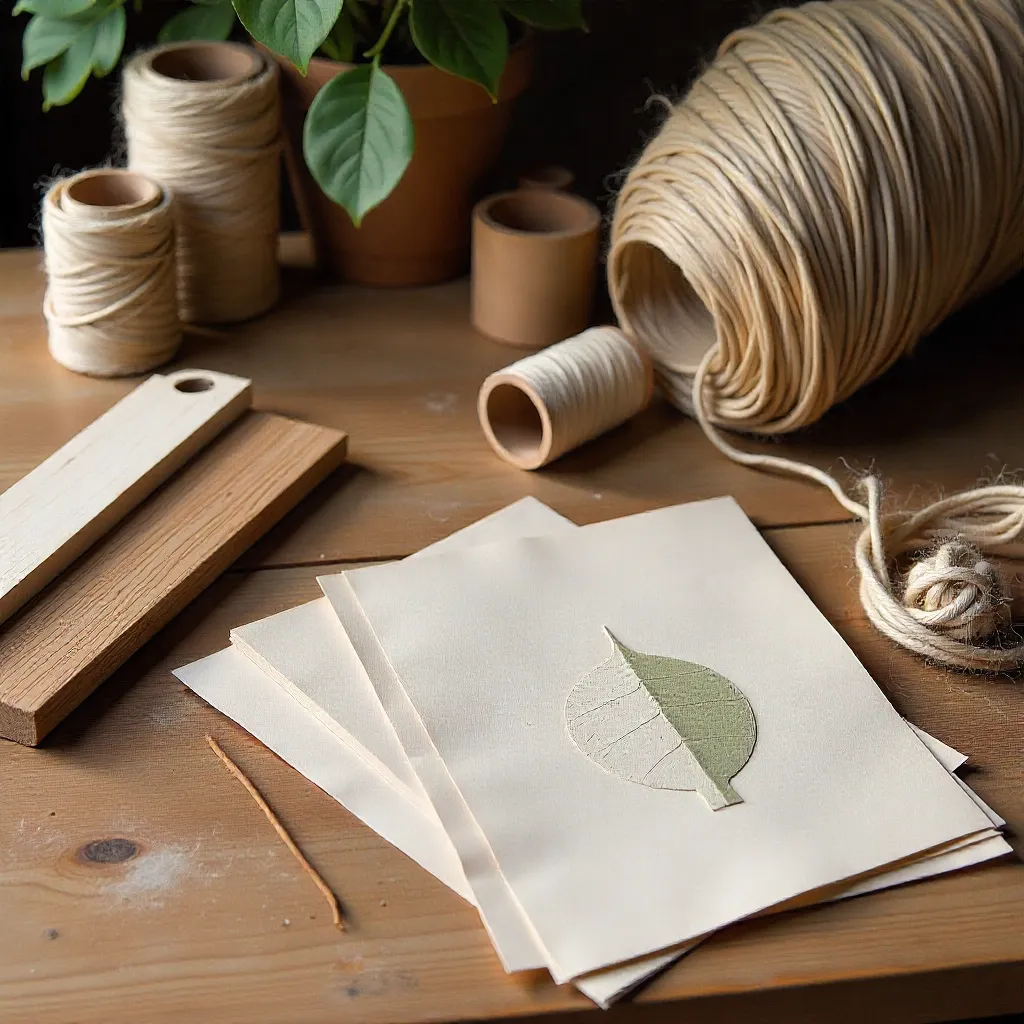
Nature Collage Art for Kids
A fun, safe project that teaches children about nature while creating beautiful art. Uses only natural materials found outdoors or in your garden.
Tools Needed:
- Heavy paper or cardboard (recycled is perfect)
- Natural materials (leaves, flowers, twigs, seeds, feathers)
- Plant-based glue or flour paste
- Paintbrush for applying glue
- Scissors (child-safe)
- Optional: pressed flowers or leaves
Step-by-Step Instructions:
- Go on a nature walk to collect interesting materials like leaves, small flowers, twigs, and seeds.
- Lay out your collected materials and let them dry if they're wet.
- Prepare your work surface with the heavy paper or cardboard as the base.
- Arrange natural materials on the paper to create your design (landscape, abstract, or animal shapes).
- Once satisfied with the arrangement, carefully lift each piece and apply a small amount of glue underneath.
- Press the material firmly onto the paper and hold for a few seconds.
- Continue gluing all materials in place, working from the background to the foreground.
- Allow the collage to dry completely, preferably overnight.
- Optional: Press the finished collage under a heavy book for a day to flatten it.
- Display your nature collage in a frame or on the wall.
Sustainability Benefits: This project uses only renewable natural materials, teaches environmental awareness, and creates art without any synthetic materials or waste.
Safety Note: Always supervise children during crafting activities. Ensure all collected materials are safe to handle and free from harmful plants or insects.
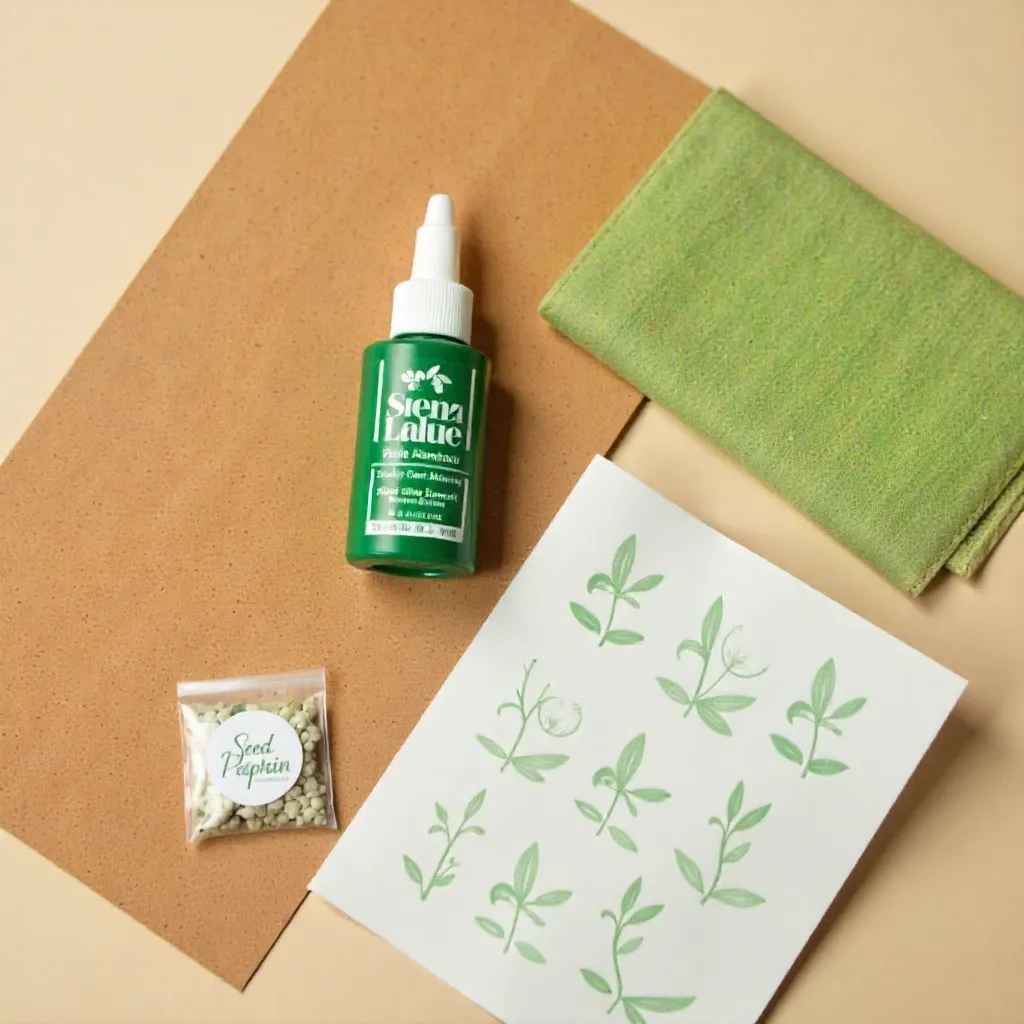
Recycled Paper Seed Starters
Create biodegradable seed starter pots from old newspaper. These pots can be planted directly in the ground, reducing transplant shock and waste.
Tools Needed:
- Old newspaper or recycled paper
- Small can or jar (for shaping)
- Scissors
- Potting soil
- Seeds of your choice
Step-by-Step Instructions:
- Cut newspaper into strips approximately 4" wide and 8" long.
- Wrap a strip around your can or jar, leaving about 2" extending past the bottom.
- Fold the excess paper at the bottom inward to create the pot base.
- Press the bottom folds firmly to create a stable base.
- Slide the can out, leaving your paper pot intact.
- Fill the pot with potting soil, leaving ½" from the top.
- Plant your seeds according to package instructions.
- Water gently and place in a sunny location.
- When ready to transplant, plant the entire pot in the ground - the paper will decompose naturally.
Sustainability Benefits: This project reuses waste paper, eliminates plastic pots, and creates a zero-waste solution for starting your garden.